
Building monkey bars for kids of any age, even 40
ne thing we West Virginians have that we take for granted is land! Urban dwellers don’t have the kind of backyards we have. So we should take advantage of it.
I turned 40 this year and wanted to add something to my fitness toolbox. My boys are also in the playground sweet spot. Add in a big backyard and one thing comes to mind. Monkey bars!
Sure, I could do pull-ups on a power tower or hang a bar in a doorframe, but what fun is there in that? I needed something I can leap and swing from. Something fun!
So I got to building…
Safety first, call 811
Before you do any digging, you need to make sure it’s safe and legal. There could be buried power lines, sewer pipes, water supply or other utilities. You can call 811 or visit the West Virginia 811 website. There could also be local ordinances that limited the size of structures, so you’ll want to get in touch with your local building authorities.
Supplies
For my monkey bars, I needed lumber, structural steel pipe, concrete, and a few carriage bolts. You’d probably be able to find everything you need at any big box hardware store, with the only exception being the posts. Depending on how high you want your monkey bars to be, you might have to get your posts at a lumberyard. I wanted my monkey bars to be 8 feet high and the rule of thumb for anchoring posts is to have 1/3rd buried, that means 12 foot posts with 4 feet buried, leaving 8 feet above ground. I’d also recommend you go with 4×6 or 6×6 and it can be hard to find 12 foot 4×6 posts at big box retailer. I ended up getting all of my lumber at a lumber yard and got it all delivered because driving around with 12 foot logs strapped to my van sounds like a terrible idea.
- 6 – 4-in x 6-in x 12-ft Pressure Treated Lumber (Posts)
- 2 – 4-in x 6-in x 12-ft Pressure Treated Lumber (Rails)
- 8 – 2-in x 4-in x 8-ft lumber (Temporary supports)
- 5 – 1-1/4-in x 10-ft Galvanized Steel Structural Pipe (Rungs)
- 10 – 1-1/4-in Silver Galvanized Steel Structural Pipe Fitting Floor Flange (Securing rungs to rails)
- 6 – 50lb bag concrete (Anchoring posts)
- 6 – Carriage bolts with nuts and washers (Fastening posts to rails)
- 1 – Box of deck screws (Fastening things together here and there)
- Landscaping string and stakes
Tools
90% of this projects was digging, breaking through rock, digging and hauling dirt. And did I mention digging? There was some fastening and leveling along the ways, but when I got to work, it was mostly digging.
- Post Hole diggers
- Spade
- Sledge Hammer
- Digging bar
- Wheelbarrow
- Line Level
- Laser Level
- Drill
- Ratchet and Sockets
Laying out the Posts
The simplest way to layout the posts is to put your rails on the ground and square them up. Since I was cutting my rungs from 10 foot sections of pipe, I made the rails about 3 feet apart so I could get 3 rungs out of each pipe with a little wiggle room for error.
I put a landscaping steaks at each corner and ran a string to each. Next, attached the line level to the center of each string and adjusted the corners until all the lines were tight and level. Having the landscaping string tight, level and square is important to digging post holes so it’s worth the time to get it right.
After all of that was done, I marked the post holes with some red spray paint. One on each corner and one in the center for each rail.
Digging the Posts Holes

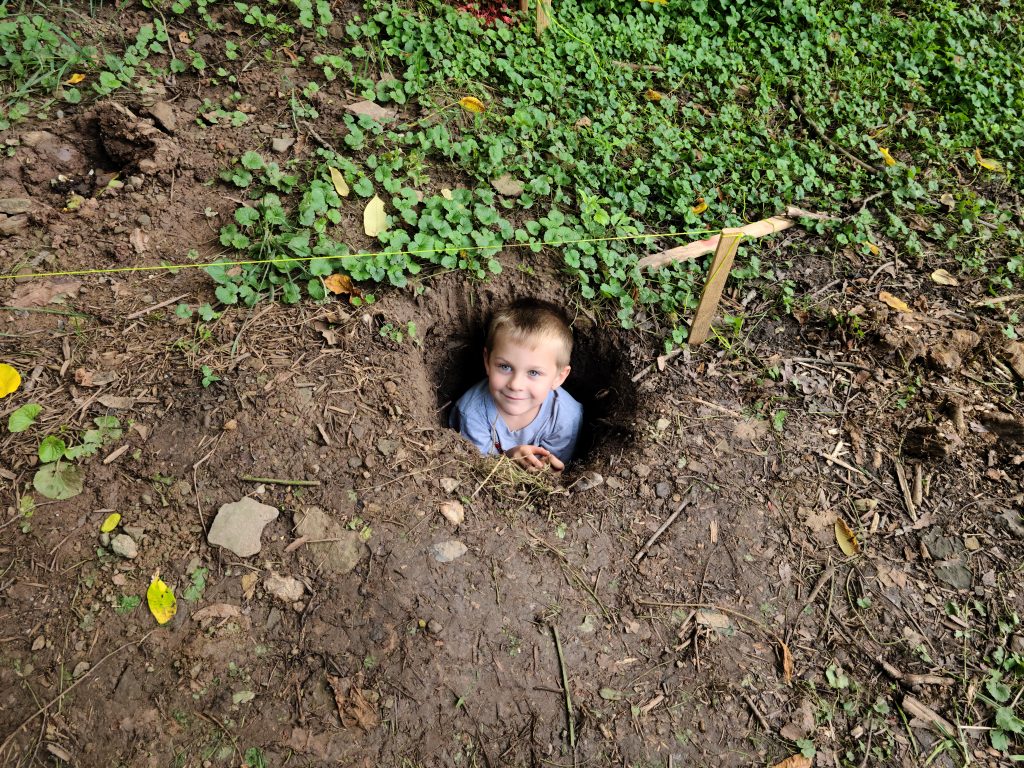
Now comes the hard part. There’s no easy way around this, I had to dig six holes about 4 feet deep and 12 inches wide! For scale, I got some pictures of my boys, 4 and 7, actually standing in the holes. They liked to play zombie while I was digging other holes.
This is where the landscaping line really comes into play. The line was just outside of rails when I laid it out, which means the center of the holes should be just outside of the line and I could get a consistent depth across the holes by measuring from the sting to the bottom.
I developed a pretty good system where I worked on each hole for an hour or so a day. Each took about an hour and a half depending on how much rock I ran into. I’d scrape the sides and bottoms of each hole with the spade to remove the dirt and use the post hole diggers to get the dirt out. Whenever I ran into a rock, I put the digging bar on it and nailed it with the sledge hammer to break it apart, then back to the post hole diggers to pull the pieces out.
Setting the Posts
I measured 4 feet from the top of the post and made a chalk mark, then used the laser level to line up the 4 feet marks on all six posts. I’d dig a little or throw in a little gravel to make minor adjustments to the height.
Here’s where those handy 2x4s come into play! I didn’t actually need them for the final project, but I needed to support the posts while I got them properly positioned and leveled. With just a few screws, I could keep everything braced while I made adjustments to make sure everything was level and square.
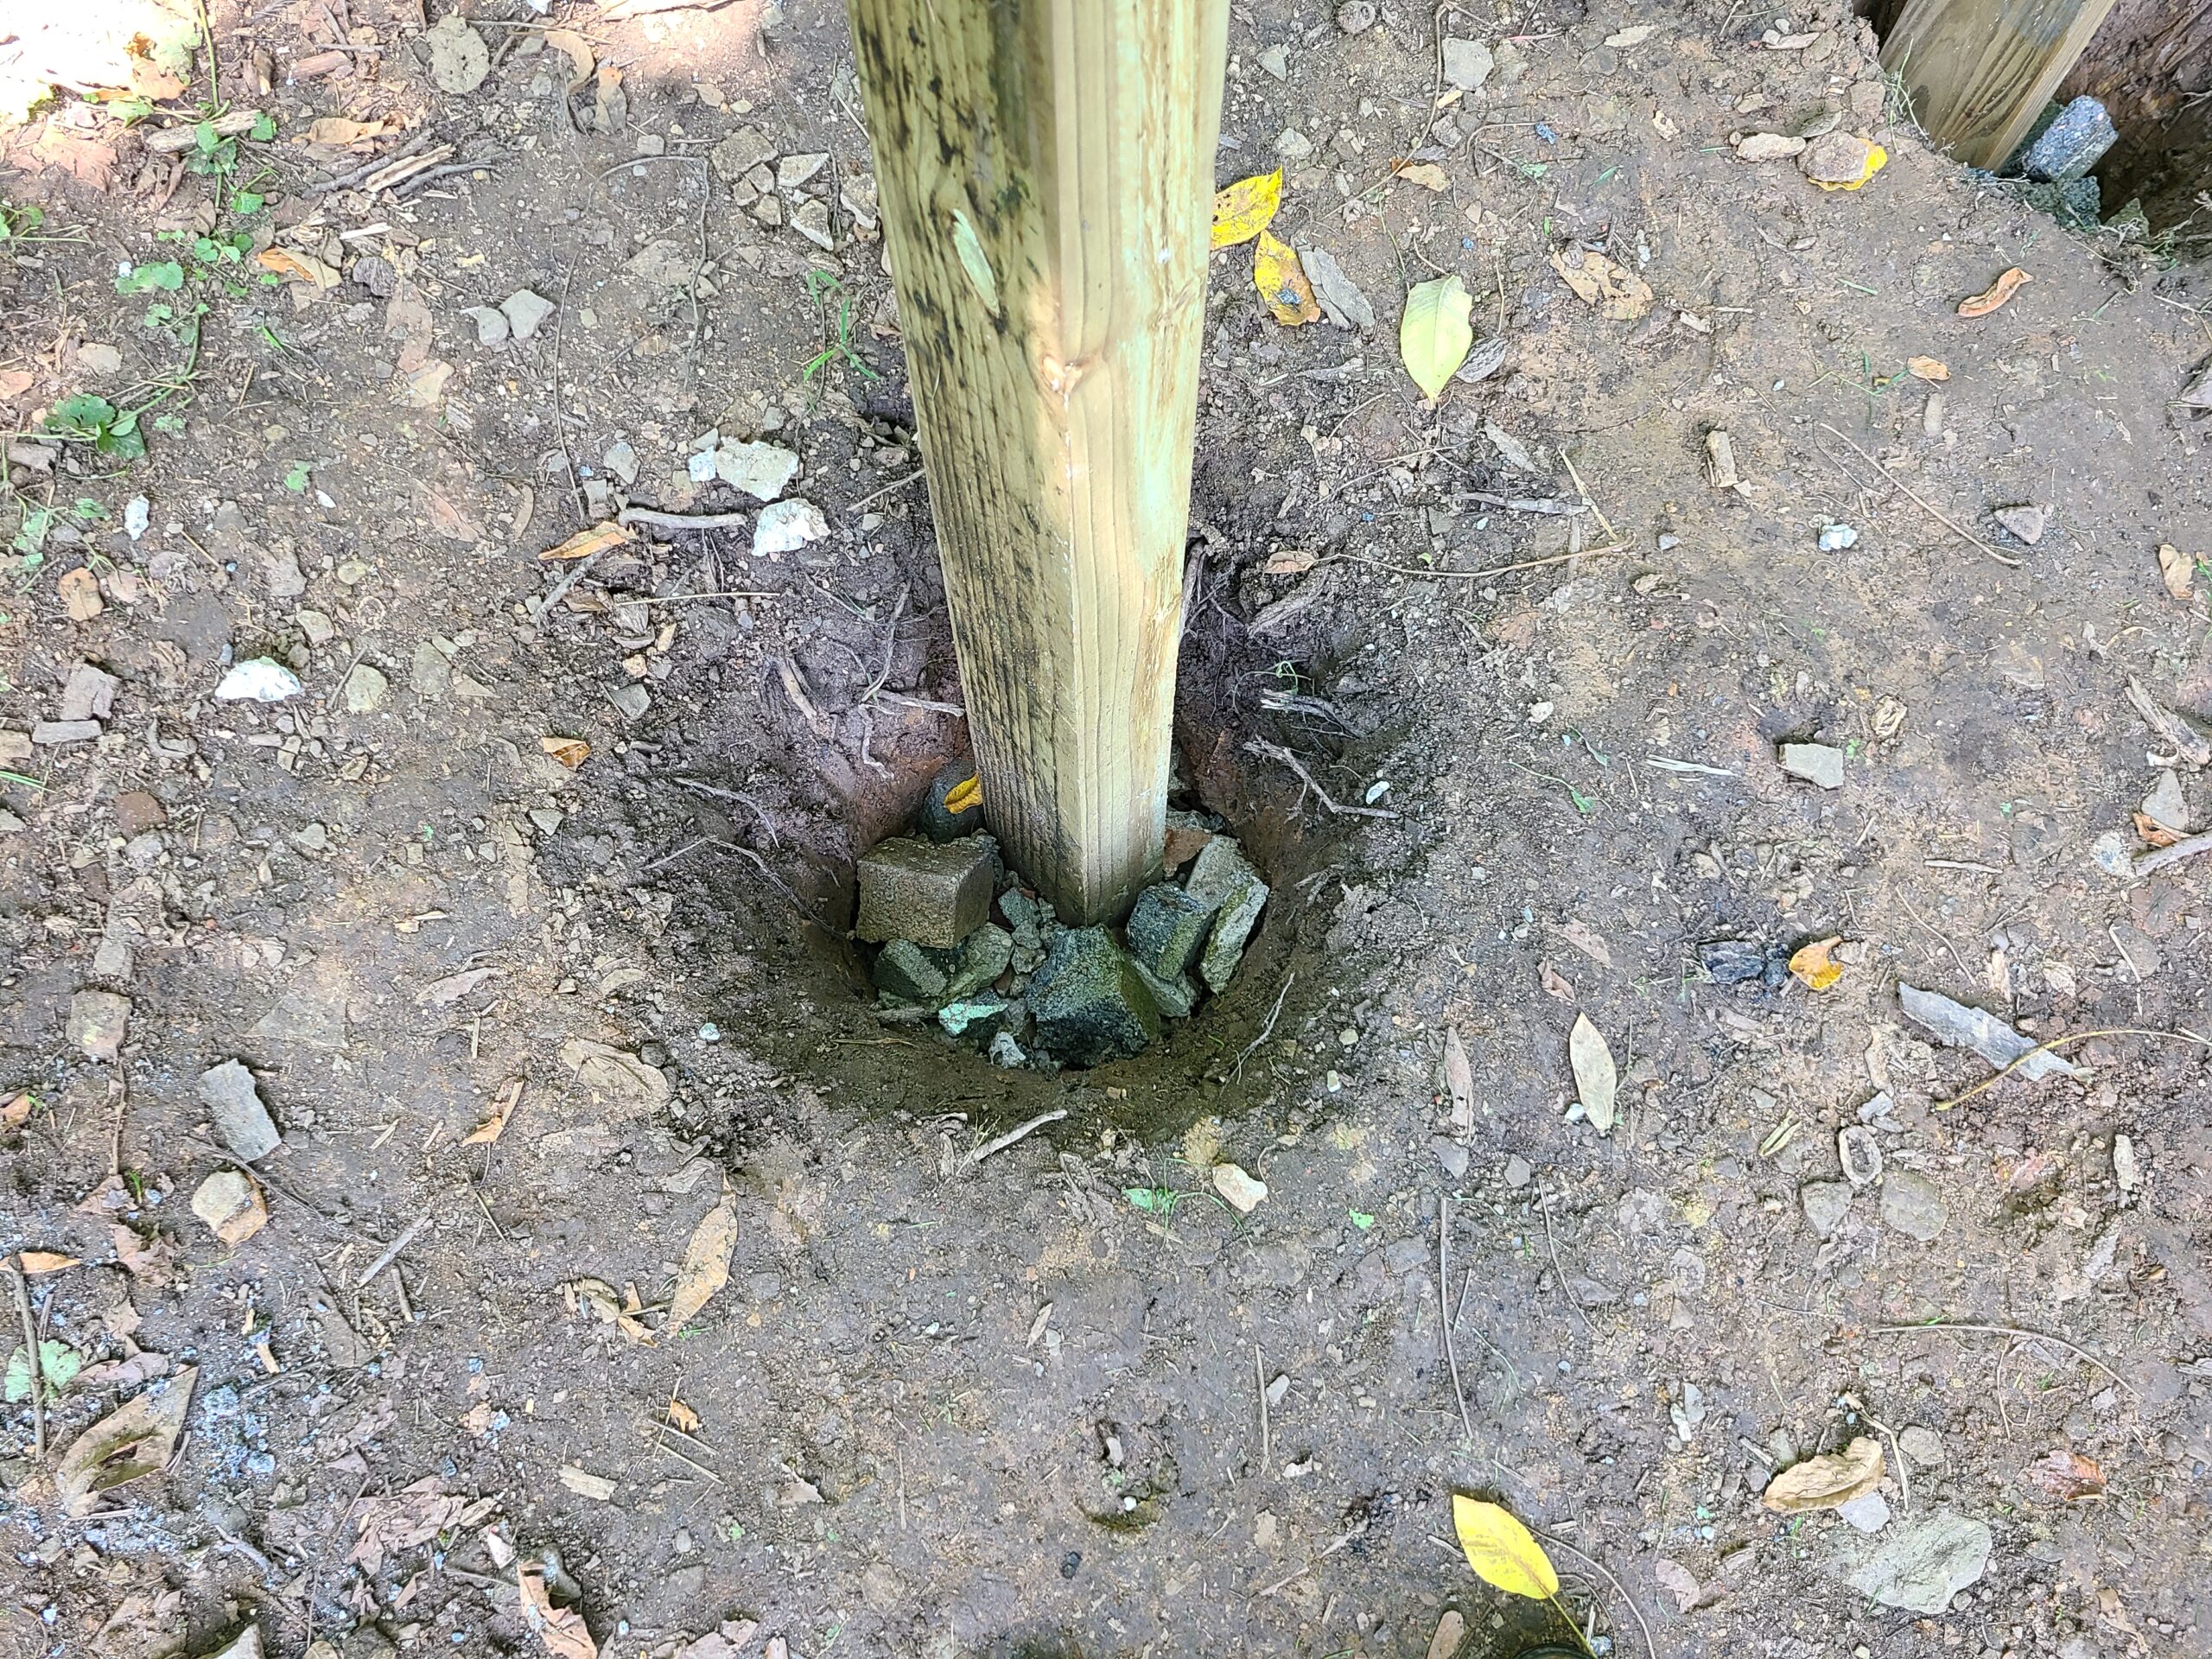
Finally, I dropped some crushed concrete and gravel in the holes to hold the posts in place then topped it all off with concrete. I kept the concrete simple, just mixing in in a wheelbarrow with a shovel. Each post took a 50lb bag.
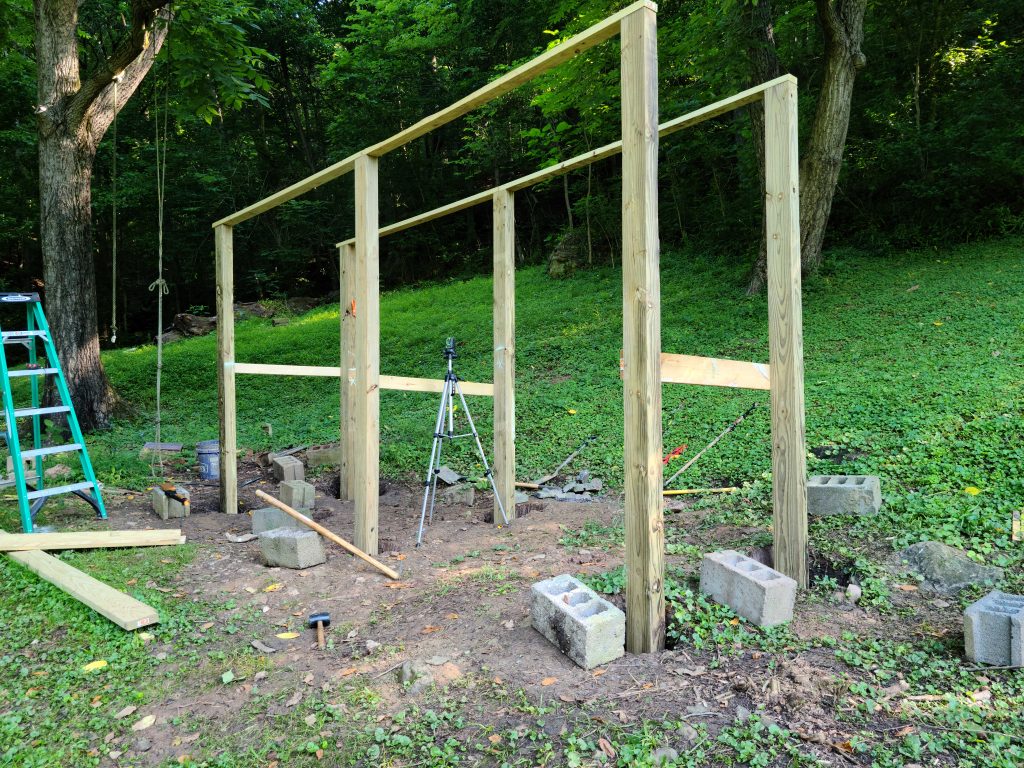
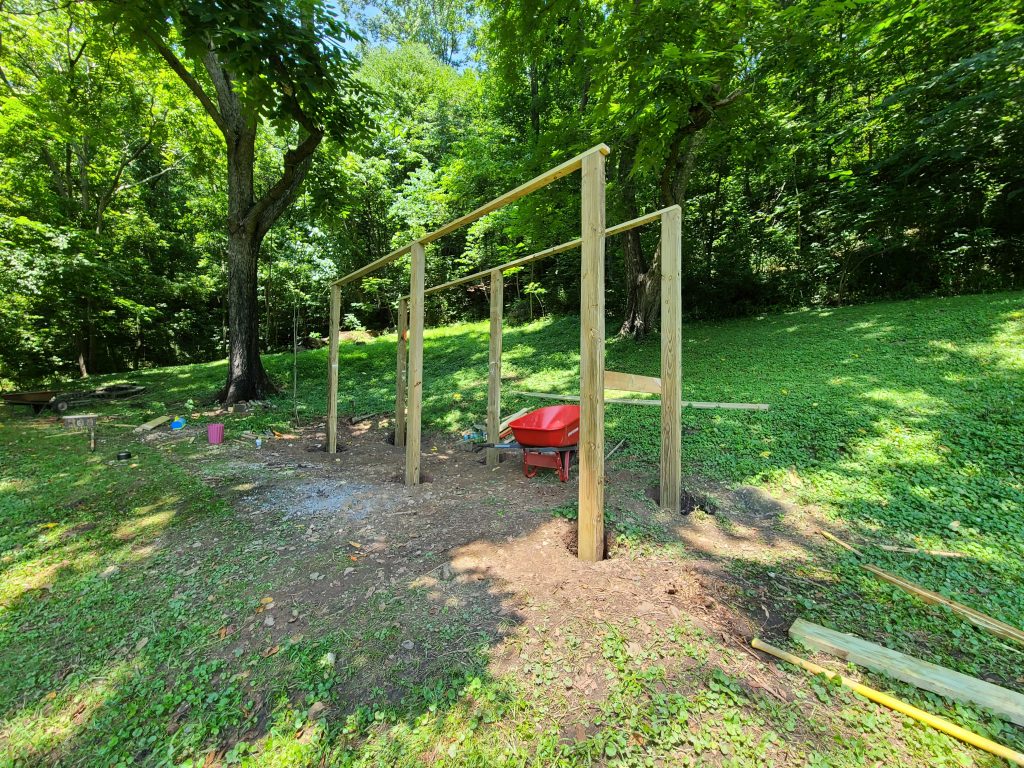
The Rails and Rungs

Now with all the post set, concrete poured and dried, I took off the supporting 2x4s and got everything ready to put on the rails. Using a couple screws, I secured each end then drilled a hole in the center for the carriage bolts. After putting a bolt in each remaining post, I was ready for the rungs.
The rungs were pretty simple. I spaced them 18 inches apart and used a floor flange on each end to secure them to the rails.
And that was it! All done. A set of monkey bars perfect for a man-sized boy to monkey around.
Hi Joe, I have already dug my post holes and purchased the timber, then had to think about what the next step was going to be. I found your hints here extremely helpful, especially the layout for arranging the bars and support beams on the ground first. Great work, Thanks Joe!!
Thank you so much! I’m glad it helped.